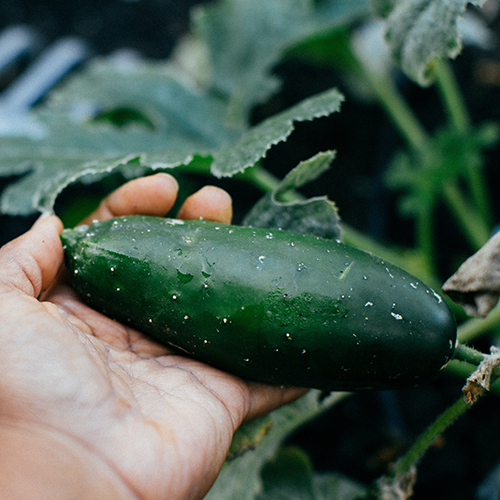
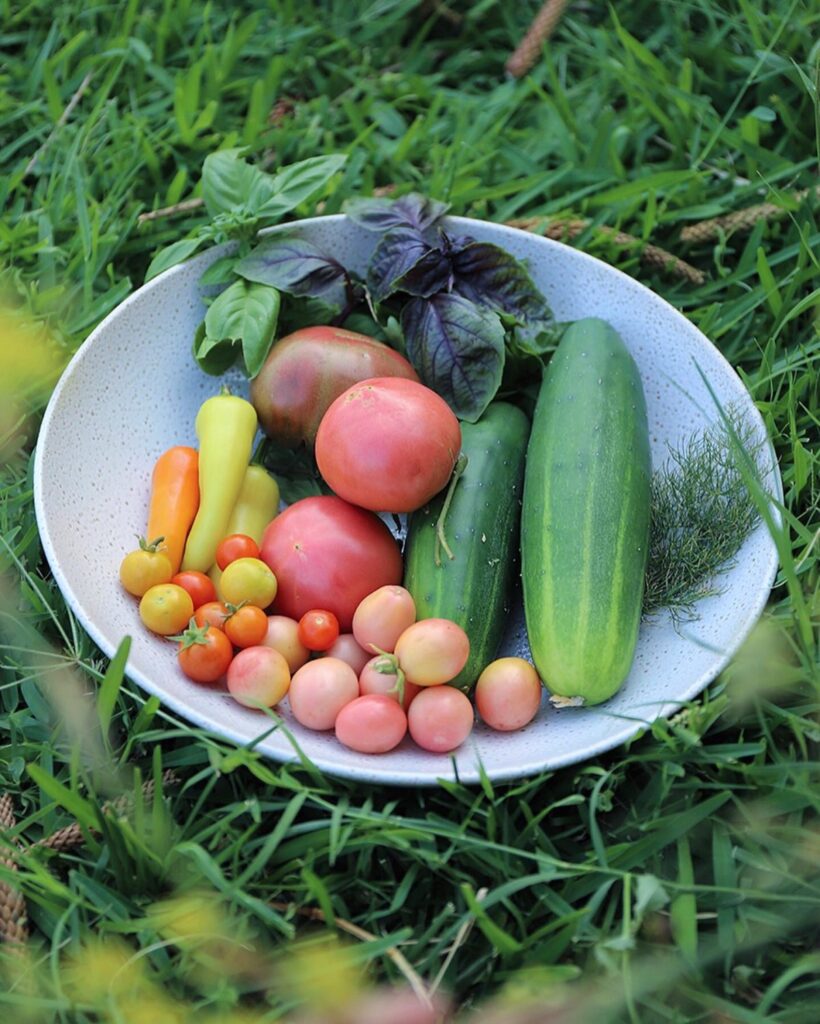
Cucumber (Cucumis sativus) is a delicious and refreshing summer crop that are easy to grow and produce an abundance of food on a single plant. Cucumber can also be grown in pots or grow bags, so they make a fantastic high-yield option for urban gardens.
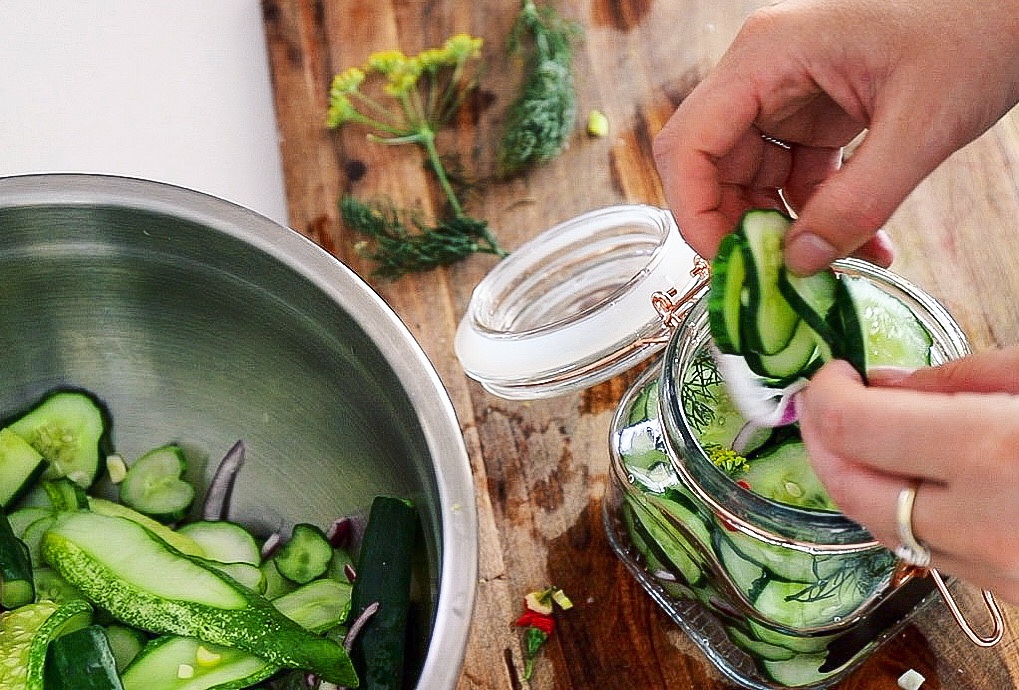
Cucumber is light, fresh, and great for pickling or eating fresh in salads. The great thing about growing Cucumbers is that you will have more than enough to preserve, gift, swap, or trade.
Full – part sun. Protection from harsh midday sun can help.
CARE
Water at the base to prevent mildew on the leaves.
FERTILISE
Feed every 2-3 weeks with liquid seaweed fertiliser.
PESTS
Mildew in humid climates.Rodents may attack the fruit.
HARVEST
Spring and Summer. Usually around 7-weeks after planting.
REPRODUCE
Save seeds from your best Cucumber at maturity.
Why Grow Cucumber?
Cucumber is quick-growing and can be pickled and preserved to use throughout the year. Cucumber is a great base crop to grow, allowing you to create more meals straight from your garden.
Here are some of the many reasons to grow Cucumber:
Easy to grow
Prolific production on each plant
High in Vitamin C & K
Rich in Antioxidants
Can promote healthy digestion
Hydrating food source
Make quick pickles and salsas
Cool, calm and reduce skin inflammation
Generous crops for gifting, swapping, or trading
The whole plant is edible including shoots, stems and leaves
Popular Cucumber Varieties
‘Marketmore‘– Popular green variety. Prolific, quick-growing, disease resistant. 15-20cm sized fruit.
‘Space Master‘ – Compact vine for small spaces. Great for slicing. 20cm green fruit. 30 fruit per plant.
‘Lebanese Mini‘ – Small mini fruit with edible skin. Great for snacks, salads, and pickles. 40 fruit per plant.
‘Crystal Apple‘ – Australian heirloom. White apple-sized fruit with citrus flavours.
‘National Pickling‘ – Small Heirloom variety. Great for pickling, snacks, and salads.
How to Grow Cucumber
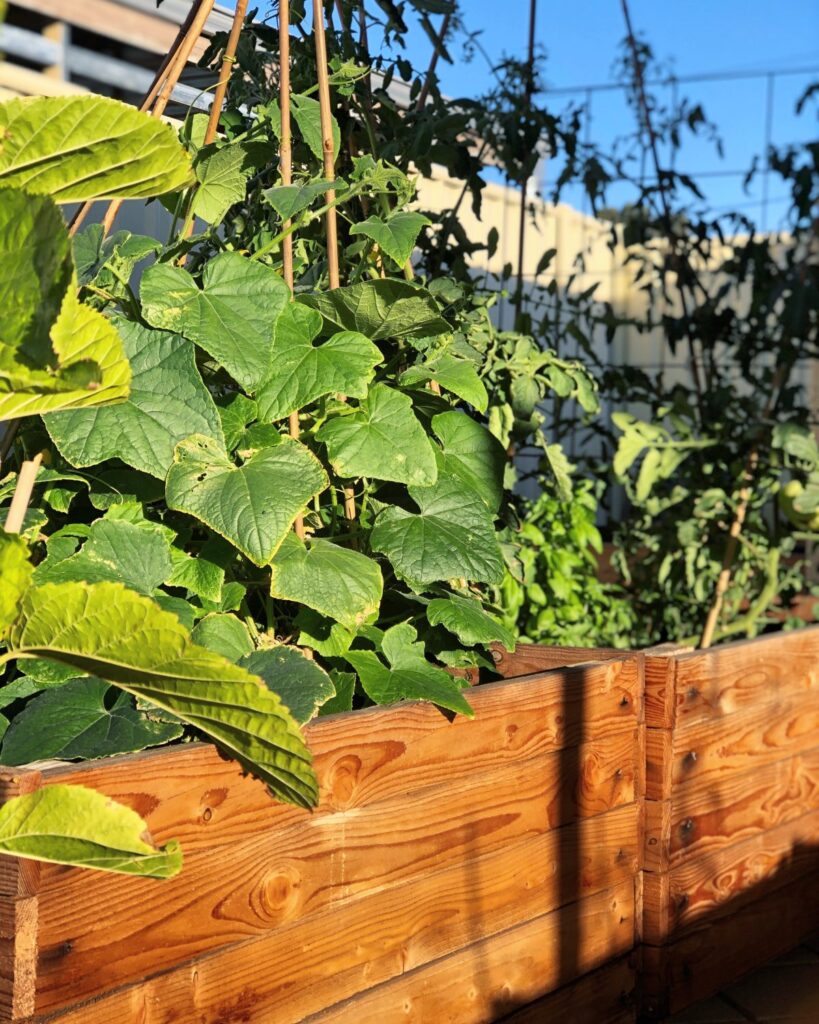
Cucumber grows in a vine structure and can be easily trained to grow vertically up a trellis or a teepee structure. It can be a good idea to get the vines up off the ground to improve airflow and reduce disease. Choose a full sun location with at least 6 hours of sunlight a day. Cucumbers can also be grown in pots and containers. Some varieties are more of a bush than a vine but this will say on the packet.
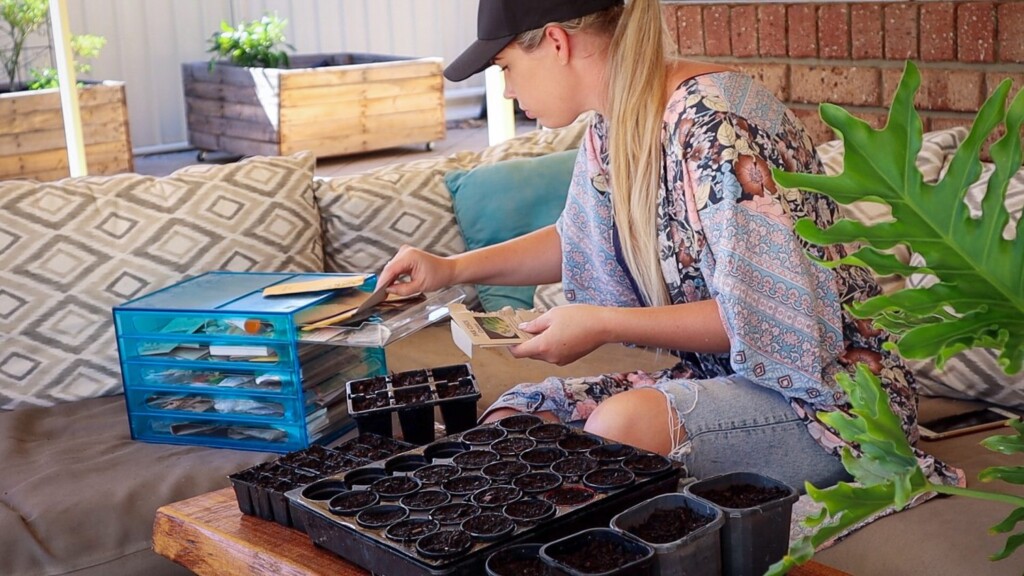
Cucumbers are warm-loving plants and can be damaged by frosts. It may be best to plant your seeds in small pots or seed trays until your last frost has passed. Plant your seeds as per the packet instruction as each variety and climate will have different growing suggestions. Once your seedlings have 4-5 leaves and your likelihood of frosts has passed, plant your seedlings in free-draining soil with plenty of compost.
When to Plant Cucumber
Plant Cucumber during the warmer months of spring and summer. For early crops, you can plant seeds inside in seed trays and plant outside once your last frost has finished.
Care/ Maintenance
Cucumbers like plenty of water so keep the soil moist and hydrated.
Mulch around your plants to protect the soil and retain moisture. Water the Cucumber at the base to avoid getting the leaves wet, as Cucumber can be prone to powdery mildew. Watering in the morning can also help to prevent this, as the leaves will have time to dry out and not sit wet for too long. If you do see white powdery mildew, remove the affected leaves and make up an organic spray with a mix of 9 parts water to 1 part milk. Spray this over the Cucumber leaves.
It can be beneficial to remove the older leaves at the base of the plant to increase airflow and prevent moisture from sitting around too long. Use sharp and clean secateurs to reduce the spread of any diseases. It can also be helpful to feed your plants withliquid seaweed or garden fertilizerevery 2-3 weeks for added nutrition.
Pollination/ Fruiting
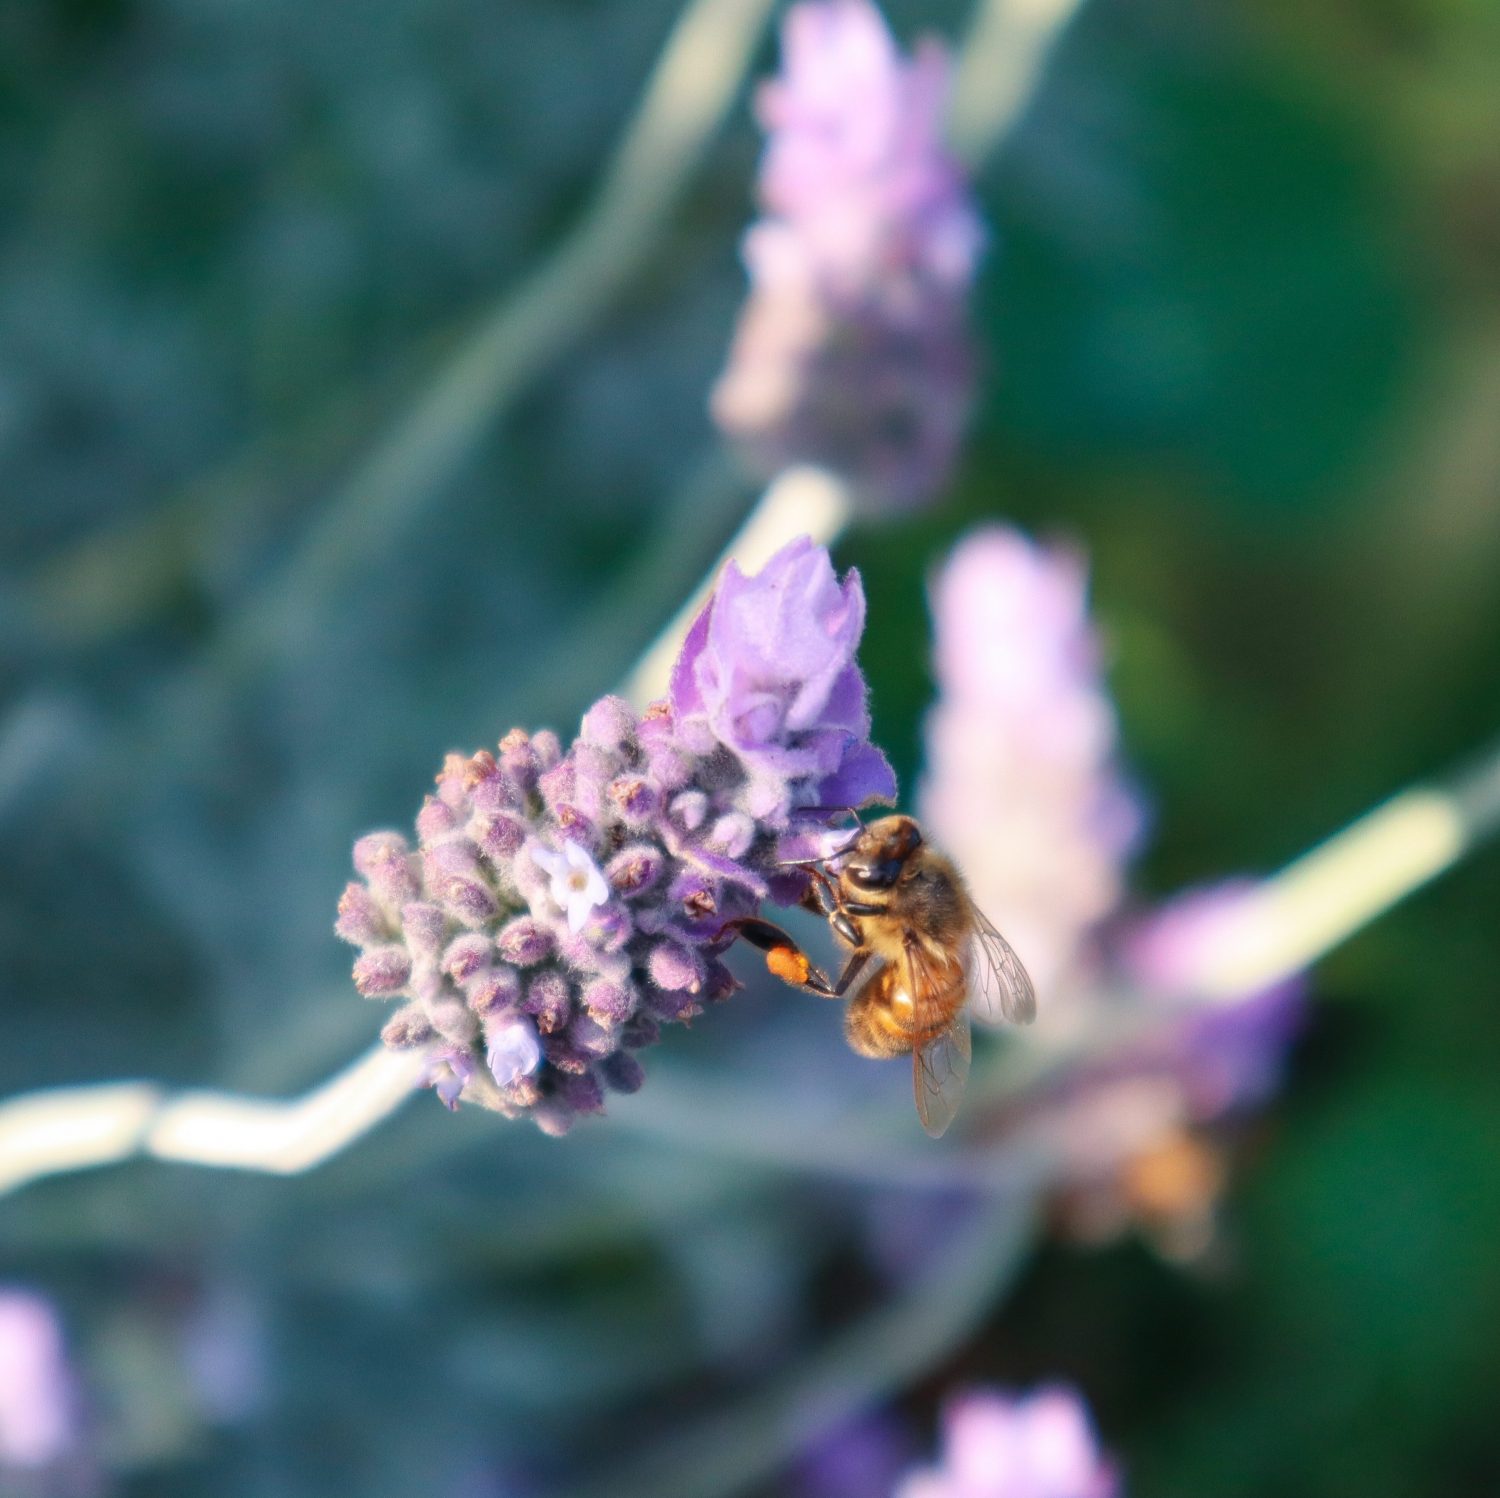
Our bees do a fantastic job at pollinating, so planting flowers nearby will help to encourage plenty of pollinators to your garden. Pick your cucumber harvest often to encourage more to grow.
Pests / Disease
Protect young seedlings from slugs, snails and slaters. They can get some fungal diseases in humid weather. It is important not to wet the leaves to prevent powdery mildew from forming. If you do start to see some powdery mildew, remove the leaves (if it is only a few) or create a spray of 1 part milk to 9 parts water and spray over the affected area. Once the fruits start to mature be aware of rodents or other animals finding your harvests.
How/ When to Harvest
Harvest your Cucumber when they are small and often. They will start to go yellow once they are getting too mature and maybe bitter and the seeds inside will be hard.
Cucumber grows very quickly once the plant is established, so you may need to check every day or every other day for new produce.
The young leaves and tendrils are also edible and can be used in salads and stirfrys.
Reproducing
Cucumber seeds are the easiest way to reproduce. Let 1-2 of your best-looking Cucumbers grow to maturity (until the skin is yellow). This will be when the seeds are mature and ready to harvest. Wash the flesh off the seeds and allow them to dry before storing it in a cool, dry, dark space. Early in the season, you can also take cuttings from the plant and place them in a jar of water. They will spout roots from the nodules where the leaves were and you can replant.
Cooking and Using Cucumbers
Cucumbers are great for adding to summer salads, refreshing water and of course all the pickles!
Diversity is so important for creating a thriving and sustainable edible garden. Choosing edible or medicinal plants to use as companion planting can not only boost the health of your garden but also your own! Each plant type has a different root structure, leaf coverage, height, nutrient absorption, and nutrient excretion and attracts different insects and wildlife to the garden. The more diversity we have in plants, the more life we are encouraging both above the soil and below. Diversity also helps reduce severe deficiencies, as all the plants aren’t competing for the exact same nutrients.
Diversity and companion planting are closely related. Companion planting is generally two different plants that grow well together and have a mutually beneficial relationship. With a diverse garden, we want to build on those relationships and continue to add more and more.
Disclaimer: The information included on this site is for inspirational purposes only and is not intended to be a substitute for medical treatment by a healthcare professional. Because of unique individual needs, the reader should consult their physician to determine the appropriateness of the information for the reader’s situation.
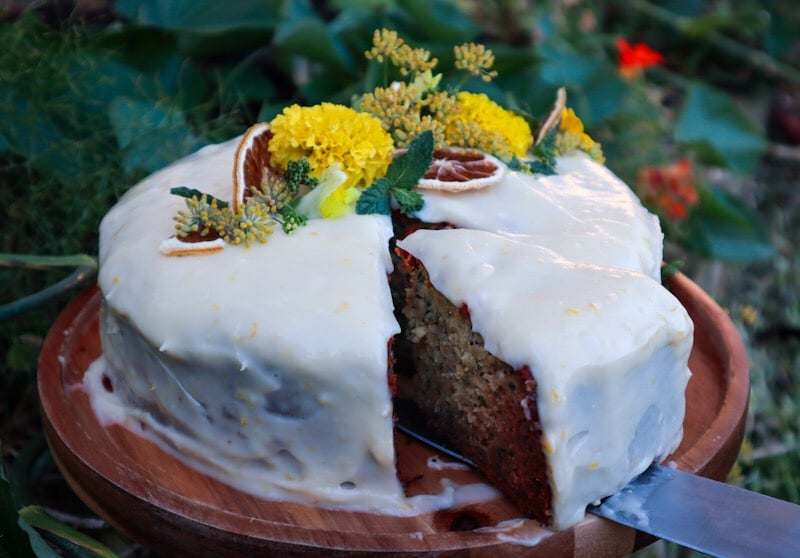
Zucchini are ready and abundant during the warmer months of summer which co-insides with a season of celebrations and events. This Lemon and Poppy Seed Zucchini cake is perfect for any occasion. Light, fresh and easily adaptable to seasonal flavours and fruits.
2-3Zucchini3 cups grated with the moisture removed
3/4cupVegetable Oil
1cupSugar
1/4cupHoney
1tspVanilla Essence
3Eggs
1TBSPPoppy Seeds
1tspsalt
extra salt for zucchini1/4 tsp
Icing
250gCream Cheese
1TBSPLemon zest
2TSBP Lemon Juice
1cupof Icing Sugar
Method
Wash and grate the zucchini into a bowl. Sprinkle with roughly 1/4 tsp salt and mix through. Allow to sit while you prepare the other ingredients.
Preheat oven to 175 degrees celsius. In a bowl mix flour, baking soda, baking powder, poppy seeds, and salt and set aside.
In a mixer (or bowl with a whisk) add eggs beat until frothy. Add in the sugar, oil, vanilla, zest, and juice of one lemon. Whist until combined. Gradually add to the flour mix and stir to combine.
Strain and squeeze the extra moisture out of the zucchini using a sieve. Add 3 cups to the mixture and stir to combine.
Grease a cake tin (20cm). Pour in the cake mix and cook for 40 mins to 1hr or until a cake skewer comes out clean.
Remove the cake from the tin and allow to cool.
To make the Icing
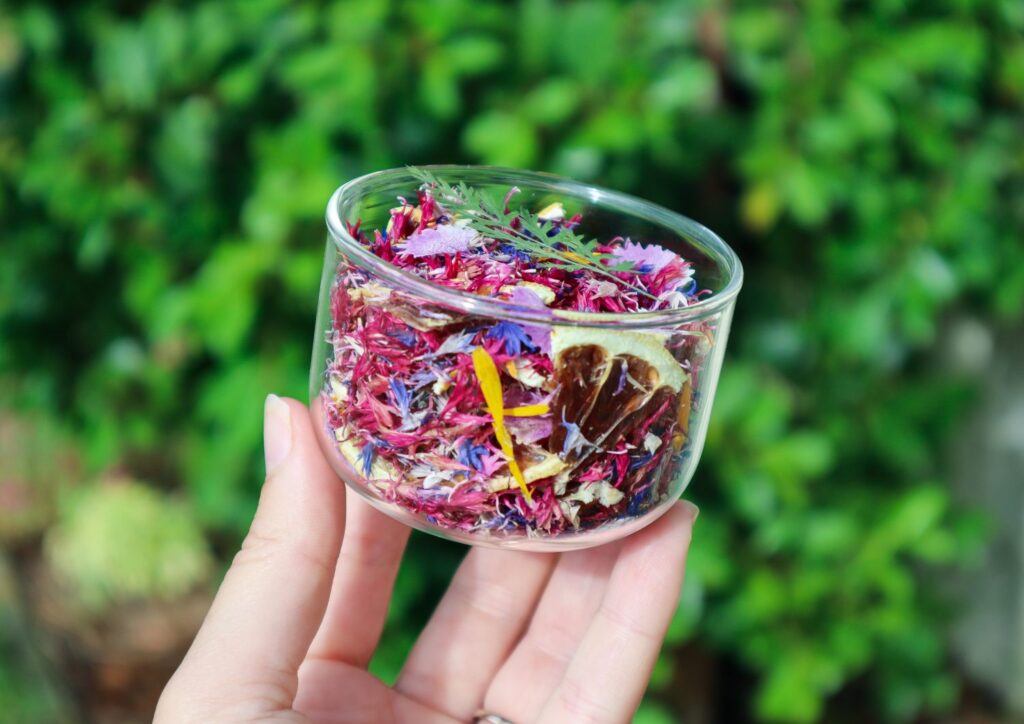
Mix Icing ingredients together and ice the cake. Top with Dehydrated citrus and edible flowers.
Notes
To make a special occasion cake, make x2 cakes and add an extra layer of icing between them.
Summer is a busy time in the garden and also in life! It can often feel overwhelming with harvesting, watering, and generally trying to keep your garden alive during hot periods, all whilst trying to enjoy time with loved ones. Summer harvests can come on hard and fast and we want to make the most of that time to use and preserve extra harvest to use throughout the year. It can be a great time to stock up the pantry with homemade preserves. Tomatoes, Cucumbers, Zucchini, Watermelon, Chillies and Capsicum are just a few of the fruit and vegetables that are in abundance during the warmer months. If you go away a lot, or want to spend more time relaxing, then it can be a great idea to prep your harvests and freeze so that you can use the slower autumn months to create your jams, chutneys and other preserves using your summer harvests.
Summer can bring really harsh weather for your gardens and it pays to be prepared to keep your gardens happy and healthy. Creating sustainable systems and working with nature rather than against it, can help you maintain lush gardens without too much time and effort.
Summer Gardening
Summer can be a little chaotic in the garden. Warm weather can bring quick growth spurts and an abundance of ripe fruit and vegetables. It can also bring harsh weather conditions with summer storms and high temperatures. Summer is also a time when we tend to go away more often, or spend more time out and about with friends and family. It is important to establish systems to keep your gardens hydrated and thriving, so you don’t loose all your hard work with just a few hot days.
Below are a few tips to help keep your gardens thriving through summer without having to put in any extra time or effort.
Ensure gardens are mulched and soil is not exposed to direct sun
Set up automatic sprinklers or irrigations systems
Set your automatic sprinklers to very early morning so the plants have time to absorb the water before the sun rises and drys it out
Utilise shade or set up temporary shade
Move pots under shade when you’re going away to reduce heat exposure
Water-wise Gardening Tips
🌱 SLOW AND STEADY | The best way to get your plants to effectively absorb the water is to slowly distribute it and allow the plant time to absorb it. If you simply pour it on and walk away a lot of water will spread and run away across the surface and not be drawn down to the roots.
🌱 WATER UNDER MULCH | If you have a thick layer of mulch and only a limited amount of water, it is a good idea to pull back some of the mulch around the plant and pour the water directly onto the soil. Mulch can sometimes absorb ALL the water and not leave any for the plants. Mulch is great for protecting the soil and stopping evapouration so once the water is on the soil, push the mulch back around to keep the moisture locked in.
🌱 TIME IT RIGHT | Timing is everything. Choose cooler times to water your plants such as the early morning or late evening. This allows the plants to absorb as much of the water as possible before the sun and heat evapourate it. I tend to water any plants that are prone to mildew such as pumpkins, melons, cucumbers etc early in the morning rather than at night. That way they have time to absorb the moisture but they will also have all day to dry out if any moisture has reached their leaves. The rest of my gardens I tend to water in the evenings.
🌱 IMPROVE SOIL | Poor soil structure will be so hard to keep well watered as it will just let the water runoff or filter away. Sandy soils can become aquaphobic and be basically waterproof. Clay rich soils will become hard and compact restricting water flow to the roots. The best way to improve soil structure is to add fibre to your soils. Adding fibre means adding more plant matter by either compost of composted manure. Compost rich soil will retain more moisture and feed your plants. Healthy well-feed plants won’t require as much watering as their roots will be more developed and widespread to capture water more effectively.
🌱 SELECTIVE PLANTING | If you often have water restrictions or know there is likely to be a real water shortage in your area then make sure you are selective in what you choose to grow. Some plants will require more water than others so do your research and select plants that will work best for your conditions. Plants such as watermelons, tomatoes, cucumbers and lettuce will require a lot more water than plants such as chilli, natives, citrus, corn, sweet potato or mini eggplant.
Summer is all about harvesting and maintaining your crops. It’s an abundant time in the garden with rapid growth. Keep on top of staking and tying tomatoes.
Often the more you pick, the more your plants will produce, so keep picking your harvests to ensure you maximise crops and don’t let food go to waste.
Tie and stake tomatoes regularly
Net or bag stone fruit
Pick any fruit from the ground as to not attract bugs and fruit flies
Keep pathways clear
Pick weeds before they go to seed
Apply mulch to keep moisture in
Apply fruit fly nets or bags after the fruit has been pollinated
Clean your tools regularly to stop any diseases from spreading
Remove any plants that look unhealthy or diseased to stop the spread
Dead-head any flowers bushes such as chrysanthemums or lavender to encourage more flowers
Pick and save any seeds from your successful plants
Picking your veggies is actually a very important part of growing if you want to have an abundance. Your veggie plants are producing flowers and fruit to then produce seeds and be able to reproduce.
If you are constantly picking the harvests, your plants will work harder to make sure they are producing more to get its seeds out there for another year. If you leave your veggies on the plant too long, they will think their job is done and slow down production.
Summer fruit and veggies are some of our all-time favourites, so it’s important to harvest as much as we can and preserve them for later in the year.
Ways to preserve summer produce:
Tomato sauce, passata, chutney.
Freeze whole or chopped tomatoes for future sauce or add straight to cooking.
Freeze Chopped Zucchini for smoothies, soups and future preserves
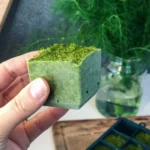
Make garden pesto using any leftover greens and freeze in large ice-cubes.
Make preserves, jam, sauce, chutney and relish to gift and trade
DIY Pots and gift seedlings
Plant a pineapple from scraps
Start a cocktail garden – Plant herbs and flowers so you can enjoy beautiful refreshing summer drinks.
Press flowers – Preserve the colourful blooms of spring to create cards and art during the slower seasons.
Try your hand at some photography! The bees and flowers will be putting on a brilliant show.
Have a picnic in your backyard
Host a summer dinner party or high tea to celebrate and welcome the change of season. Use edible flowers to create show-stopping, colourful drinks and dishes.
Planning for Autumn
The key to easy and successful gardens is to plan ahead. This can help you maximise your food production and help maintain momentum. Summer can be a harsh season in the garden and Autumn will come as a welcomed relief. Production will be slowing down and you can start planting out your winter seeds.
Planting seeds will give you a head start and a smooth transition of food across the seasons.
Harvest and preserve as much as you can
Save seeds from successful plants or identify ones you want to leave to go to seed
Plan out where you want to have your winter gardens and which crops you want to grow where
It’s a good idea to grow crops in different beds than you did the previous year to allow the soil time to recover from the specific minerals each crop depletes
Pull out any crops that have finished and compost them
Deadhead annual flowers to encourage repeat flowering
Remove any dying or diseased looking plants. This stops any diseases from spreading to other plants and they may attract unwanted pests. Plus if they aren’t very productive anymore they are taking up valuable real estate for more plants
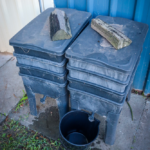
Keep your compost hydrated. In summer composts can dry out too, so give them a sprinkle of water every now and then. Make sure you turn it to aerate
At the end of summer, you can start planting your early autumn and winter seeds
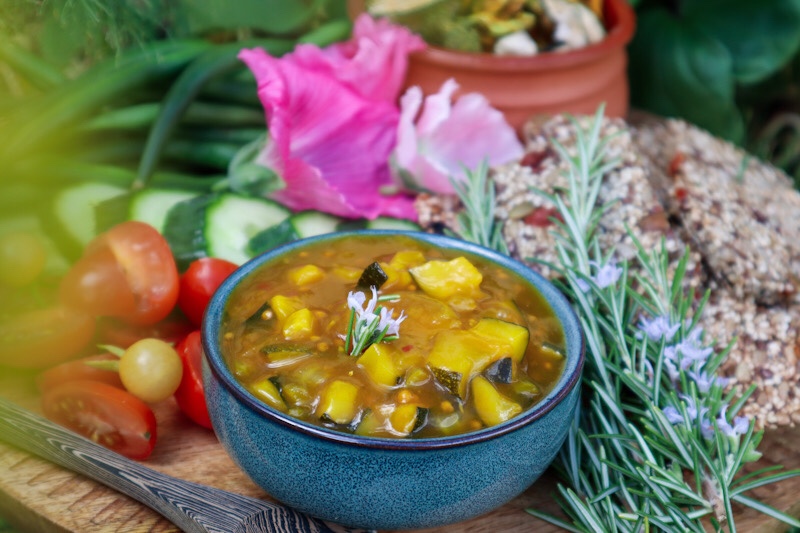
Zucchini are one of my favourite vegetables to grow because of their ease to grow and abundant harvests. They are such generous plants! The best thing about growing an abundance is that you can preserve the excess to use throughout the year. Harvesting and preserving your own Zucchini will allow you to build your self-sufficiency.
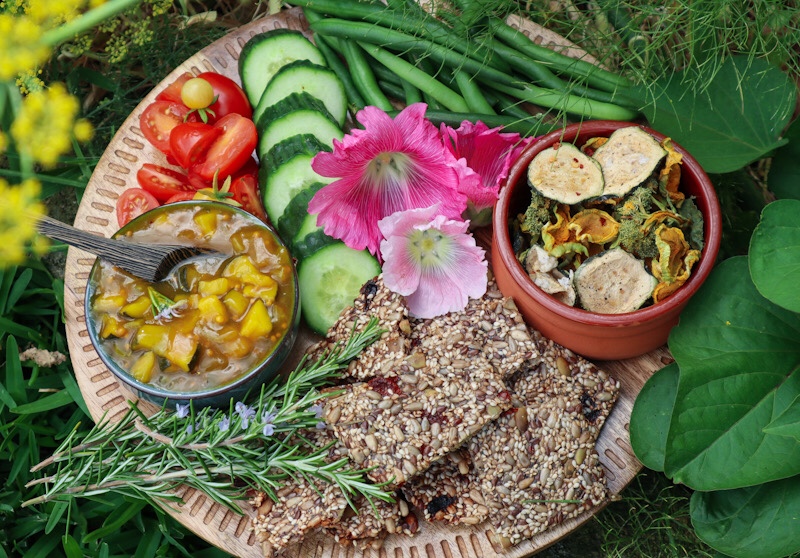
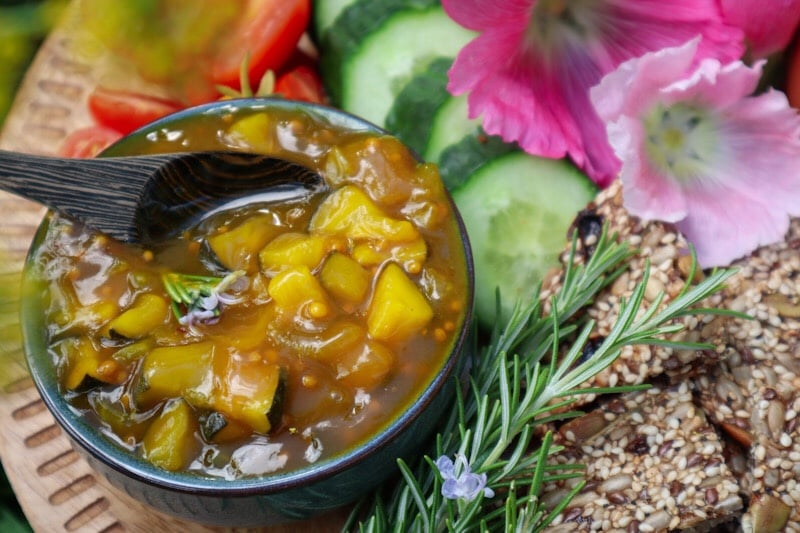
This Zucchini recipe is easy to make and you can adjust it to suit your harvest. Zucchini relish is a great addition to sandwiches or add it to a platter with all your delicious homegrown produce and homemade crackers. Zucchini pickle also makes great gifts! Sharing your delicious homegrown produce can help inspire others to grow their own too. Then you can swap and trade and support your friends and family.
Wash and dice your Zucchini and Onion into small cubes. Place in an airtight container and sprinkle with salt. Mix in well, place on the lid, and add to the refrigerator for 12-24 hours to release the water.
Remove the Zucchini and onion mix from the fridge and strain off the excess liquid.
In a saucepan add the Vinegar, Sugar, Tumeric, Chilli, and Mustard Seeds. Bring to a simmer and stir for 2 minutes. Then add the Zucchini.
Allow to cook down slightly for 15-20 minutes, stirring regularly.
Remove a TBSP or so of the liquid and mix with the cornflour to make a paste. Return this back into the saucepan to thicken the Relish.
Sterilize your jars by either running through a hot dishwasher or in the oven at 110degrees for 15minutes. Sterilize the lids in boiling water.
Pour your zucchini mix into the hot jars and secure the lid. Place the jars upside down to cool. This helps them seal. Once the jars have cooled down, place them in the refrigerator. Enjoy!!
For long-term storage only cook the zucchini mix for 10minutes then add to jars. Process the jars in a boiling water bath for 10minutes.
Notes
For added colour and flavour you can also add Capsicum into the mix.
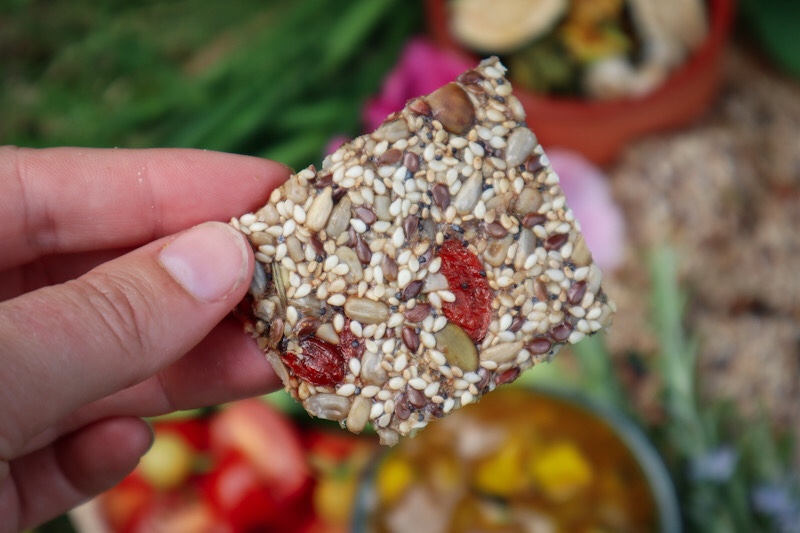
Crackers are such an easy snack to grab and these Super Seed Crackers are also very easy to make. Having easy staple recipes on hand can help you make the most out of your produce. These Crackers also look amazing bundles up and given to friends.
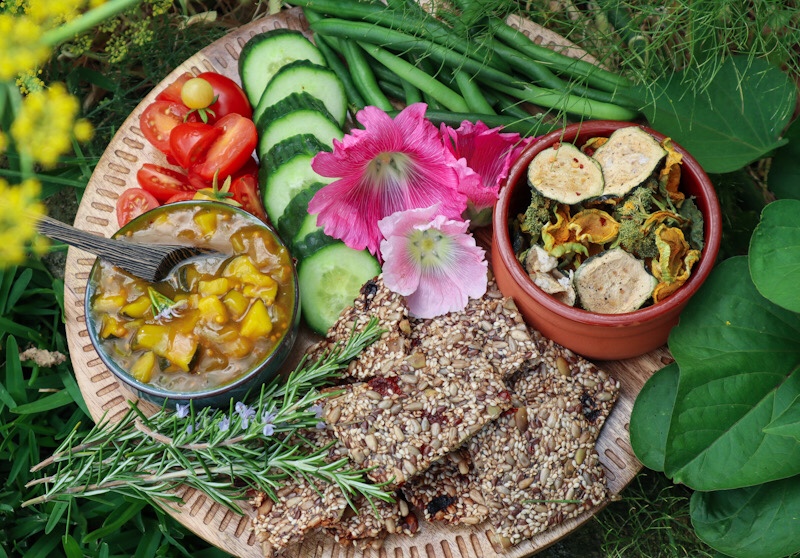
Simply add these crackers to a plate full of fresh fruit and veggies from your garden, along with some delicious relish or garden pesto and you have a winning platter.
Super Seed Crackers
Easy and delicious super seed crackers. The ultimate summer platter addition. Serve with relish or pesto straight from the garden to the plate.
Add all the ingredients to a bowl and mix to combine.
Allow to sit for 20mins to become a thick mixture.
preheat the oven to 150degrees celsius.
Pour half the mix onto baking paper and place another sheet on top. Roll out to form a thin layer then remove the second sheet of baking paper. Place on an oven tray and repeat with the second half of the mixture.
Bake for 1 hour or until slightly golden.
Remove and cool then slice into your desired cracker size shapes. Store in an air tight container.
Notes
Swap out the Goji berries with your favourite dried fruit. Mix it up!
Cornflour can be used as a substitute for Psyllium husks, you may need to add a little more. Also, mix it with a little water to form a paste before adding it to the mix.
Zucchini (Cucurbita pepo) is a popular edible for home gardeners, as they are easy to grow and produce an abundance of food on a single plant. Zucchini can also be grown in pots or grow bags, so they make a fantastic high-yield option for urban gardens.
Zucchini is so versatile and can be used for sweet or savoury dishes and both raw or cooked. The great thing about growing Zucchini is that you will have more than enough to preserve, gift, swap, or trade.
Creating an abundant garden that you can share with your friends, family, and neighbours, is a rewarding and fulfilling way to garden.
Rich compost and composted manure soil. Create soil mounds.
LOCATION
Full sun 6 hours per day.
CARE
Water at the base to prevent mildew on the leaves.
FERTILISE
Feed every 2-3 weeks with liquid seaweed fertiliser.
PESTS
Mildew in humid climates.Rodents may attack the fruit.
HARVEST
Spring and Summer. Usually around 2 months after planting.
REPRODUCE
Save seeds from your best Zucchini at maturity.
Why Grow Zucchini?
Zucchini are quick-growing and can be used to make a wide variety of meals. Zucchini is a great base crop to grow, allowing you to create more meals straight from your garden. Below are just a few reasons to grow your own Zucchini at home.
Here are some of the many reasons to grow Zucchini:
Easy to grow
Prolific production on each plant
High in Vitamin A & C
Rich in Antioxidants
Can promote healthy digestion
Edible flowers
Can be eaten raw or cooked
Can be used for sweet or savoury dishes
Absorb flavour easily
Generous crops for gifting, swapping, or trading
Popular Zucchini Varieties
‘Black Beauty‘– Most popular heirloom variety with dark green skin. Prolific, quick-growing, ready to harvest in 7-9 weeks.
‘Long Florence‘ – Italian heirloom with green ribbed skin. Grows larger flowers perfect for stuffing. Ready to harvest in 6-8 weeks.
‘Fordhook‘ – Classic variety with smooth green skin with light speckles. High yield. Ready to harvest in 6-8 weeks.
‘Costata Romenesco‘ – Italian heirloom variety with pale green ribs and speckles. Looks like a star when sliced. Quick growing, ready to harvest in 6 weeks.
‘Lebanese‘ – Pale green or ‘grey’ variety. Sweet flavour. Best picked small. 8 weeks to harvest.
‘Golden‘ – Bright yellow/golden variety. Great for summer BBQs or baking. Ready to harvest in 9 weeks.
‘Ronde de Nice‘ – French heirloom variety. Small round fruits with green skin. Great for stuffing. Bruise easily so you don’t see these available at the shops often. Ready to harvest in 8 weeks.
How to Grow Zucchini
Zucchini grow in a large low structure and do take up quite a lot of space in the garden due to their large leaves. Choose a full sun location with at least 6 hours of sunlight a day. Zucchini can also be grown in pots and containers.
Zucchini are warm-loving plants and can be damaged by frosts. It may be best to plant your seeds in small pots or seed trays until your last frost has passed. Otherwise, Zucchini grow best sown directly into the soil. Plant your seeds as per the packet instruction as each variety and climate will have different growing suggestions. Once your seedlings have 4-5 leaves and your likelihood of frosts has passed, plant your seedlings in free-draining soil with plenty of compost. If you are growing Zucchini in garden beds, create small mounds of soil to plant your Zucchini seedlings on top of. Plant each seedling at least 1m apart.
When to Plant Zucchini
Plant Zucchini seeds directly in the soil during spring and summer. For early crops you can plant seeds inside in seed trays and plant outside once your last frost has finished.
Care/ Maintenance
Zucchini are heavy feeders, so it can be helpful to feed your plants with liquid seaweed or garden fertilizer every 2-3 weeks.
Mulch around your plants to protect the soil and retain moisture. Water your Zucchini at the base to avoid getting the leaves wet, as Zucchini can be prone to powdery mildew. Watering in the morning can also help to prevent this, as the leaves will have time to dry out and not sit wet for too long. If you do see white powdery mildew, remove the affected leaves and make up an organic spray with a mix of 9 parts water to 1 part milk. Spray this over the Zucchini leaves.
It can be beneficial to remove the older leaves at the base of the plant to increase airflow and prevent moisture from sitting around too long. Use sharp and clean secateurs to reduce the spread of any diseases.
Some plants may need staking or support as they grow.
Pollination/ Fruiting
Zucchini produce both male and female flowers on each plant for pollination. Our bees do a fantastic job at pollinating, so planting flowers nearby will help to encourage plenty of pollinators to your garden.
If your Zucchini are not reaching maturity and seem to shrivel and die prematurely, this may be due to a lack of pollination. You can manually pollinate your flowers by using a small paintbrush to dust the pollen of the male flower’s stamen (single flower with no baby Zucchini forming) to the female flower Stigma (flower with a baby Zucchini at the base). This can help boost your success rate and grow more Zucchini. This can also be achieved by picking a male flower, removing the petals, and using the pollen-covered stamen to transfer pollen to the female flowers. If you do notice pollination issues be sure to plant lots more flowers in between your plants to attract more bees.
Another reason your fruit may be dying off could be due to blossom end rot. This will cause the end of the Zucchini to go brown and start to rot before reaching maturity. This is due to a number of factors such as lack of calcium in the soil, feeder roots being cut or damaged, and most commonly, inconstant watering. During hot, dry periods, it is important to keep a regular watering schedule. Anautomatic timer will come in very useful. Mulching will also help retain moisture.
Pests / Disease
Zucchini is relatively pest-resistant. Protect young seedlings from slugs and snails. They can get some fungal diseases in humid weather. It is important not to wet the leaves to prevent powdery mildew from forming. If you do start to see some powdery mildew, remove the leaves (if it is only a few) or create a spray of 1 part milk to 9parts water and spray over the affected area. Once the fruits start to mature be aware of rodents or other animals finding your harvests.
How/ When to Harvest
Harvest your Zucchini when they are small (15-20cm long) and often. This will encourage your plant to produce more and more fruit. Use sharp secateurs to avoid accidentally ripping the entire plant out or snapping off part of your Zucchini.
Zucchini grow very quickly once the plant is established, so you may need to check every day or every other day for new produce.
If you want to harvest Zucchini flowers for eating, choose the male flowers. Otherwise, you will be reducing the number of Zucchini you get from each plant. Be sure to leave some male flowers for pollination, or harvest your flowers after manually pollinating the female flowers.
Reproducing
Zucchini seeds are the easiest way to reproduce. Let 1-2 of your best-looking Zucchini grow to maturity (until the skin is hard and cannot be broken with your fingernail). This will be when the seeds are mature and ready to harvest. Wash the flesh off the seeds and allow them to dry before storing it in a cool, dry, dark space.
Cooking and Using Zucchini
There are so many ways to use Zucchini and with just one plant, you will have plenty of opportunities to try many of them out! Below are just a few of the many ways to cook and preserve your abundant Zucchini harvests.
These Chocolate Dipped Watermelon Pops are the ultimate summer treat. Made with just two simple ingredients, they combine sweet, juicy watermelon with a crisp chocolate coating for a refreshing dessert that’s perfect for hot days. Whether served chilled or frozen, these easy watermelon pops are a healthier alternative to traditional ice creams and popsicles. These were such a hit and will now be a summer staple in our house!
With just two simple ingredients, you can quickly and easily make a healthier version of a summer ice cream or popsicle. Trust me…these watermelon Choc-tops that are sure to impress! Sprinkle with edible flowers before the chocolate sets to add a little extra magic.
Growing Your Own Watermelon
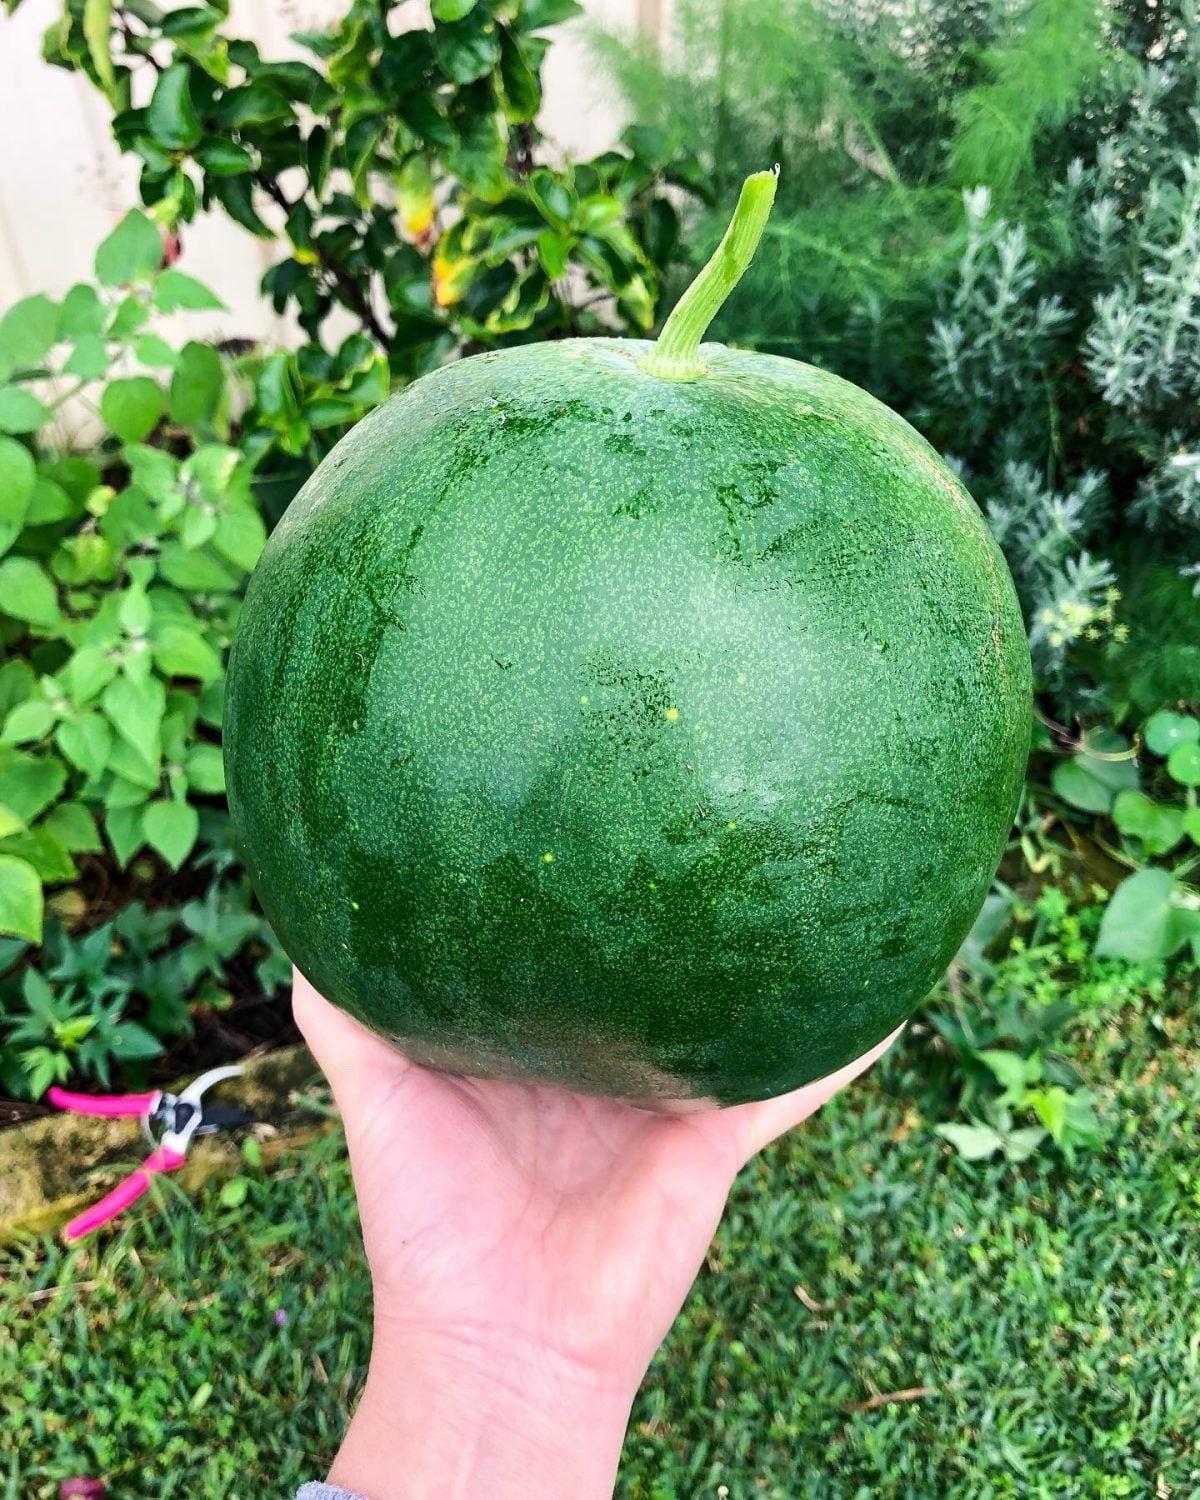
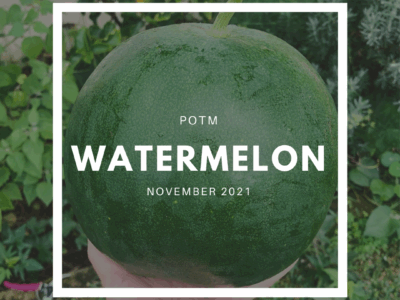
There is something extra satisfying about turning a homegrown watermelon into a delicious summer treat. Watermelons are one of my favourite summer crops to grow! They produce large, sweet fruits that thrive in warm weather and just bring so much joy to a summer garden.
If you’ve ever wanted to grow your own watermelon from seed, check out my complete watermelon growing guide. It covers everything from planting and pollination to harvesting perfectly ripe fruit, so you can enjoy fresh watermelon straight from your garden…which can be a little tricky in a hot climate like here in Perth.
Slice your watermelon up into Iceblock sized pieces around 1cm thick and place in a container in the fridge to cool while you melt your chocolate.
To melt the chocolate I place my chocolate buttons in a small saucepan and set it over another saucepan with water and allow the steam to heat it.
Once your chocolate has melted remove it from the heat.
Create a rack to hold your watermelon iceblocks by placing two sticks (or chopsticks or knives) across the top of a cup.
Push the iceblock stick into the watermelon pieces so that they are secured.
Spoon over your melted chocolate and sprinkle on edible flowers. I used dried cornflower. Carefully place your chocolate-coated watermelon upright on your makeshift rack by holding the bottom edge of the watermelon.
Place in the freezer to set. The watermelon will be frozen and ready to eat within 2hours. Or place in the fridge until the chocolate has set for the fresh version.
Notes
Both fresh and frozen are good! However, I do prefer the frozen ones.
The difference between the fresh or frozen versions is :
Fresh – Sweeter, very juicy, a little hard to eat.
Frozen- Mild watermelon flavour, not too sweet, need to be good with biting into frozen food.
Try These Variations
Dark Chocolate Watermelon Pops Use dark chocolate for a richer flavour and less sweetness.
White Chocolate Watermelon Pops A beautiful option for parties and baby showers.
Tropical Watermelon Pops Sprinkle with toasted coconut and lime zest.
Garden Party Watermelon Pops Decorate with edible flowers from the garden for a stunning summer garden party idea.
Looking for More Ways to Use Watermelon?
If your garden has gifted you more watermelon than you know what to do with, don’t stop at these chocolate-dipped watermelon pops. Watermelon is incredibly versatile and works in both sweet and savoury recipes (well, i think so anyway!).
One of my favourite summer recipes is a refreshing watermelon salsa. The juicy sweetness of watermelon pairs perfectly with fresh herbs and crunchy vegetables, creating a colourful dish that’s ideal for barbecues, picnics, and warm evenings outdoors.
If you have too much watermelon (amazing problem to have!) or it is a bit too overripe to enjoy fresh (timing the picking can be tricky).
One of my favourite ways to use extra fruit is by making watermelon jerky in the dehydrator. The dehydration process concentrates the natural sugars, creating a chewy, candy-like snack that tastes completely different from fresh watermelon. It’s a fantastic way to preserve a bumper harvest and reduce food waste at the same time.
If you’re looking for another unique watermelon recipe, be sure to check out my mojito watermelon jerky recipe
Summer is one of the most abundant seasons in the garden, bringing baskets of watermelon, tomatoes, cucumbers,herbs,passionfruit, and other fresh fruit and veggies. If you’re looking for more ways to turn your harvest into delicious meals and snacks, explore these popular summer recipes:
Easy Chocolate-Dipped Watermelon Pops: A Refreshing Summer Treat
These chocolate-dipped watermelon pops are proof that simple ingredients can create something special. With sweet, juicy watermelon and a crisp chocolate coating, they’re an easy summer treat that’s both refreshing and fun to make.
Whether you’re looking for a healthier alternative to ice cream, a creative way to use a homegrown watermelon harvest, or a popular treat for hot summer days, these frozen watermelon pops are sure to become a family favourite. Best of all, they require just two ingredients and only a few minutes of preparation.
If you try this recipe, I’d love to hear how you decorated your watermelon pops. Did you keep them simple with chocolate, or add edible flowers and other toppings for a little extra magic Either way, this is one watermelon recipe that’s guaranteed to bring a taste of summer to every bite 🍉🍫☀️
Watermelon salsa is a refreshing and delicious addition to any summer BBQ. Serve with grilled Fish, Chicken, Fritters, Tofu, or Haloumi. This salsa is so quick and easy to make and looks so festive! Watermelon Salsa would be a perfect addition to summer entertaining.
Watermelon Summer Salsa
Fresh, Vibrant, and refreshing salsa for all your summer BBQs.
Finely dice the watermelon into small cubes (approx 1/2cm square).
Dice the Capsicum into small cubes.
Finely dice the red onion.
Roughly chop up the fresh Mint and Parsley.
Add the Watermelon, Capsicum, Onion, Parsley, and Mint to a bowl. Drizzle with a little olive oil, squeeze the juice of 1/2 a lime, add sliced red Chilli and mix to combine.
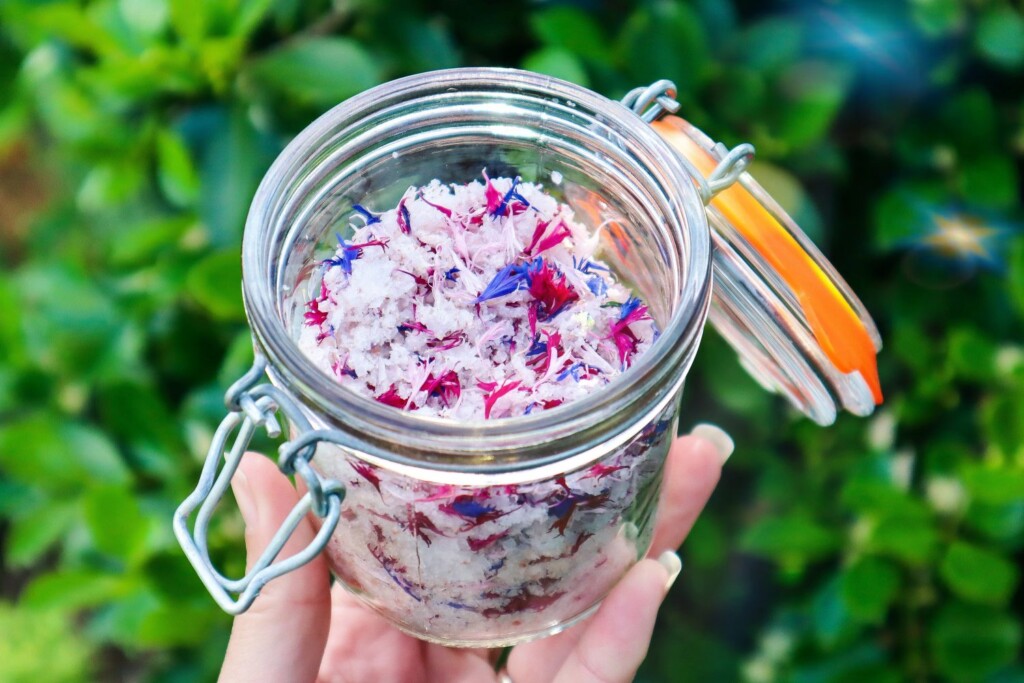
When ready to serve add Salt Flakes and Edible Flowers (I have used Purple Cornflower petals)
Notes
Make this as close to serving as possible, as the watermelon will let go of a lot of water if prepared ahead of time.
Zucchini Fritters with Haloumi and Watermelon Salsa
This is a seasonal match made in heaven. Summer brings an abundance of Zucchini and delicious mouth-watering Watermelon. Serve these fritters on Nasturtium leaves for a nutritious lunch or with a garden salad for a light refreshing meal on those hot summer nights.
Zucchini Fritters with Haloumi and Watermelon Salsa
1/4finely sliced Red Onioncould use shallots or spring onion
1/4cupchopped fresh Parsley
1TBSPchopped fresh Basilor Chives
Salt and Pepper
1small fresh chilli finely sliced
1packet Haloumi
10-12Nasturtium leavesor lettuce leaves to serve (optional)
Watermelon Salsa
Method
Rinse your Zucchini and grate them into a bowl. Sprinkle with 1 tsp of ground rock salt (roughly 5-6 grinds) to allow the moisture to extract. Stir through, cover, and set aside for 10 minutes.
Finely chop your Herbs, Onion and Chilli.
After 10 minutes or so place your grated Zucchini in a sieve and squeeze out all the extra moisture.
Then in a clean bowl mix all your ingredients together and season well with salt and pepper.
Heat a pan on medium-high heat with oil. Spoon your mixture into the medium-sized pan and flatten it down a bit. Cook 3-4 minutes on each side or until crispy brown.
While your fritters are cooking, heat a small pan and fry off your sliced Haloumi until lightly golden.
Allow your fritters to cool slightly and serve on Nasturtium leaves with a slice of Haloumi and a spoon full of Watermelon Salsa.
Notes
Alternatively, serve your Zucchini Fritters with a garden salad and top with Haloumi and Watermelon Salsa for a Light and Refreshing Summer meal.
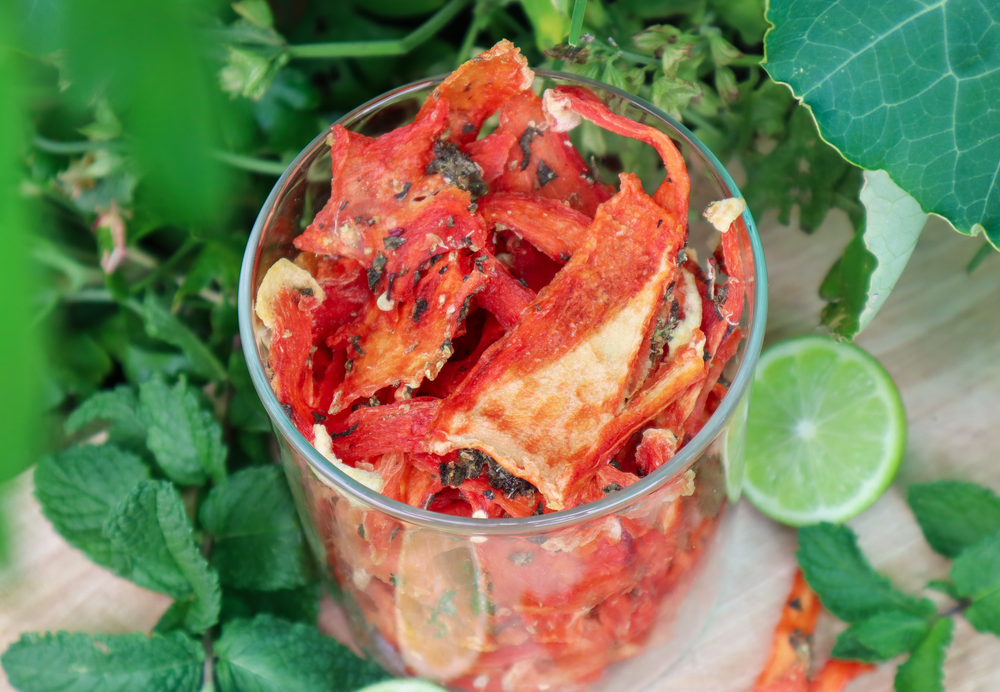
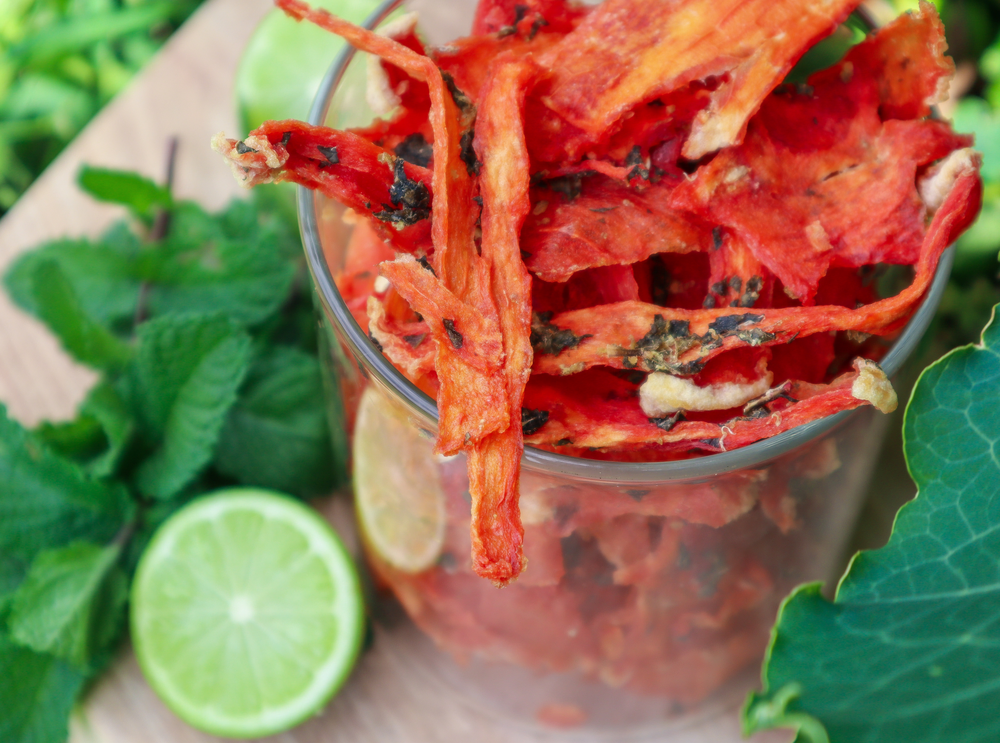
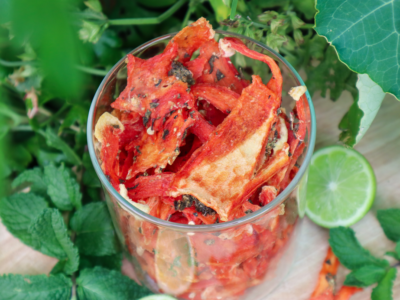
If you’ve ever ended up with a massive watermelon that’s way too big to finish, or it is simply too overripe to enjoy fresh..This Mojito Watermelon Jerky Recipeis a winner! Some watermelons can grow over 20–25kg, and while they’re delicious, they can quickly turn into a “how on earth do I use all this?” situation. And we do not want to waste any of that delicious harvest!
This dehydrated watermelon snack transforms fresh watermelon into a chewy, naturally sweet treat with a refreshing twist of mint and lime. It’s like a summer version of fruit leather…but lighter, brighter, and, not surprisingly, very addictive.
Perfect for:
reducing food waste
preserving excess watermelon
healthy summer snacking
using your dehydrator
And the best part? You can make it plain or go full mojito-style watermelon jerky with fresh mint and lime.
What is Watermelon Jerky?
Watermelon jerky (also called dehydrated watermelon) is just sliced watermelon that has been slowly dried until most of its moisture is removed. Because watermelon is naturally high in water content, it shrinks significantly during dehydration and develops a chewy texture. The result is a SUPER concentrated fruit snack with high natural sugars. The mint and lime in this recipe help to balance that sweetness.
Unlike fruit leather, watermelon jerky is usually sliced rather than blended, which gives it a firmer, more chewy texture (like jerky).
Tips for Best Results
Slice evenly to prevent uneven drying
Avoid overcrowding trays to allow airflow
Start checking early as drying time can vary significantly
Thinner slices produce a chewier, more consistent texture
If experimenting, dry plain and flavoured versions side by side
Add the juice and zest of one Lime to a bowl and mix through the mint.
Remove the rind and any seeds from the watermelon and slice it into strips roughly 1cm thick. If the strips are too thin they will break apart and be hard to remove from the tray. Too thick and it will take a loooooong time to dehydrate, so I have found around 1cm is a happy medium.
Lay your watermelon strips in a large shallow dish and pour over the lime and mint marinate. Gently turn over to coat. I like to do a mix of some marinated and some plain. Cover your dish and refrigerate for 1-2 hours to allow the flavours to combine.
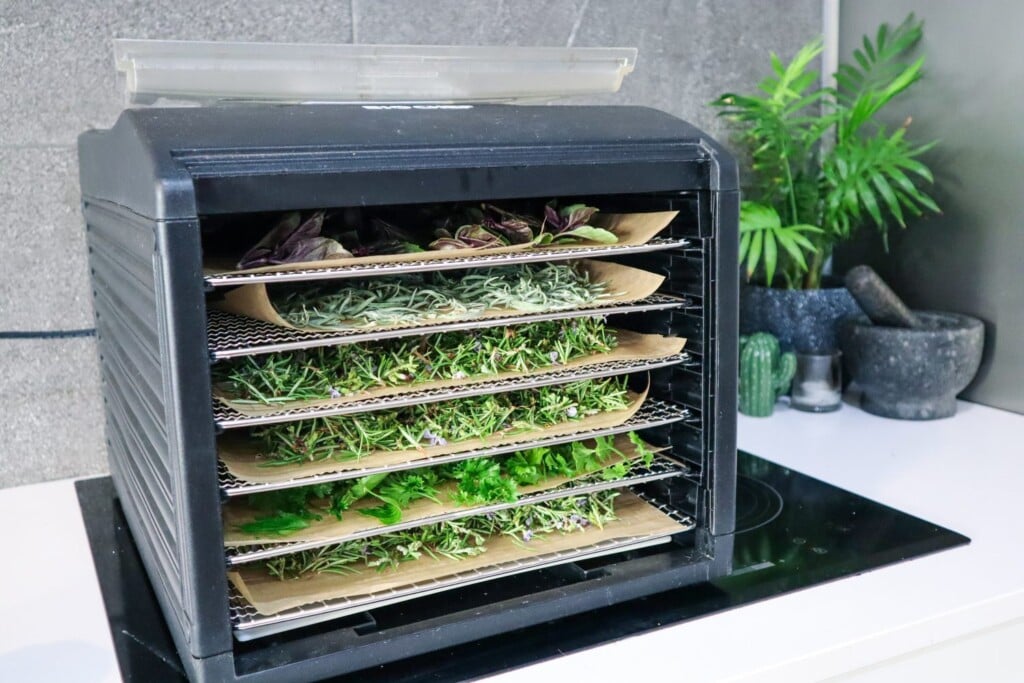
Place your watermelon onto your dehydrator trays, ensuring you have a drip tray at the bottom to catch excess juices. I have found it is best to use fruit leather trays or parchment paper otherwise the jerky gets stuck to the metal grids. Dehydrate at 60 degrees Celsius until dry (This will take anywhere from 18-24 hours). To speed up the process, turn your watermelon strips over a few times during the process.
They should not be sticky to touch. The thicker parts that aren't quite dry will be a darker red colour. You may need to remove the dried watermelon and let the thicker slices dehydrate a bit longer. This will take anywhere from 18-24 hours.
Allow to cool and add to a clean, dry, airtight container.
Enjoy! 🍉
Notes
Please note that the Watermelon reduces significantly in size once dehydrated and has concentrated, high levels of sugars. Enjoy 2-3 pieces per serve as a treat or natural confectionary.
Try using cookie cutters to get fun-shaped jerky.
How to Store Your Watermelon Jerky
Allow the watermelon jerky to cool completely before storing. Store in an airtight container in a cool, dry place. It will generally keep for 1–2 weeks, depending on humidity levels. For longer storage, refrigeration is recommended.
Variations
Add lime zest for stronger citrus flavour
Increase mint for a more herbal profile
Add a small amount of chilli flakes for a sweet-heat variation
Try sea salt for a more balanced flavour profile
Try with other types of melons!
Why Make Jerky When Fresh Watermelon is so Good
I often get asked this question and the answer is – sometimes we can have too much to eat fresh, or it is simply overripe, and no one really wants to eat it. Watermelon jerky is a simple example of how excess seasonal produce can be preserved rather than wasted. In a home garden or food forest system, this method helps extend the usability of high-yield crops like watermelon beyond their fresh-eating window.